Then there began a journey with a lot of wasted flour, the beginning of a business (but not a boulangerie), and a way of approaching the world that is slower and more generous.
Here's the way I make my bread now. It's a boule, but I do make baguettes from time-to-time. Even though I got my first KitchenAid mixer because I didn't enjoy hand-kneading, I don't even use it for my bread anymore. Simplicity, simplicity, simplicity. There is only one thing that I think is absolutely necessary, an even that could probably be foregone by a master. I am not a master, so I use a scale to measure my ingredients.
The Equipment
- The Scale. Ideally digital, and measures in grams. Precision makes a significant difference.
- Rising bucket. We're going to mix some gloppy dough, and need something that we can cover and put into the fridge for a while. How big depends on how much bread you want to make at a time.
- Baking vessel(s). I use a couple of different ones, because those are the ones I have. All we need is something that has a lid and can be preheated. Terra cotta and cast iron are good. I use one of each. At various times I've used flower pots and trays with great success, but didn't have any large enough for the loaves I'm making, and the bread often stuck to the pots unless I sprayed the interior, so I stopped using them for now. I think the configuration using an Azalea Pot might be better. In any case, I use a Doufeu and La Cloche on a terra cotta plant tray (since the original base for it broke). But it doesn't matter, as long as it has a removable lid and holds heat.

The Ingredients

- Baking water. Ordinarily, I refuse to purchase water, but we live in the country and have very heavily mineral-laden water, and even after it goes through the processing equipment the yeast and other microorganisms that make the bread work don't like it. I buy spring water. Not "drinking water." Before you buy water, however, test what comes from your tap. It might be fine.
- Flour. Due to the nature of my business, I have occasion to purchase 50 pound bags of flour, and usually get one of bread flour and one of all purpose. My favorite flour isn't available in large quantities, and I'm not sufficiently artisanal to need to have my flour custom-milled. I also use about 20% whole wheat flour in my house bread.
- Salt. We keep a wide variety of salts in the house, but only one is for baking. It's an uniodized fine grain sea salt. There's no reason to use table salt in your baked goods (or at all, for that matter, since there is already plenty of iodized salt used in the processed foods we eat, so you're not going to get a goiter). Same for kosher salt. Pick a salt you like and stick with it.
- Added grains. I get whatever they have at Costco. Currently my repertoire includes quinoa, chia, a hemp/flax blend, and ground flax.
- Yeast. Once again, it's basic active dry yeast from Costco. I open the vacuum bag and put the yeast in a container that I keep in the freezer. For bread I never proof it, just add it with the drys, and it never lets me down.
- Corn meal. This is more equipment than ingredient, but important nonetheless. Corn meal is used to insulate/lubricate the bottom of the baking vessel to keep the bread from adhering as it bakes. Doesn't usually add any flavor.
- Bonus flavors. My first artisan bread experience was a local bakery's kalamata olive bread, and I've never looked back. Homemade roasted garlic cloves are easy and good for you. The variety is limited only by our imagination. De gustibus non est disputandum is all you need to know.
The Technique

 Much has been written about the revolutionary no-kneed bread. Thank you Mark Bittman and Jim Lahey. Without their beacons I would still be wandering. Here's how I put things together now.
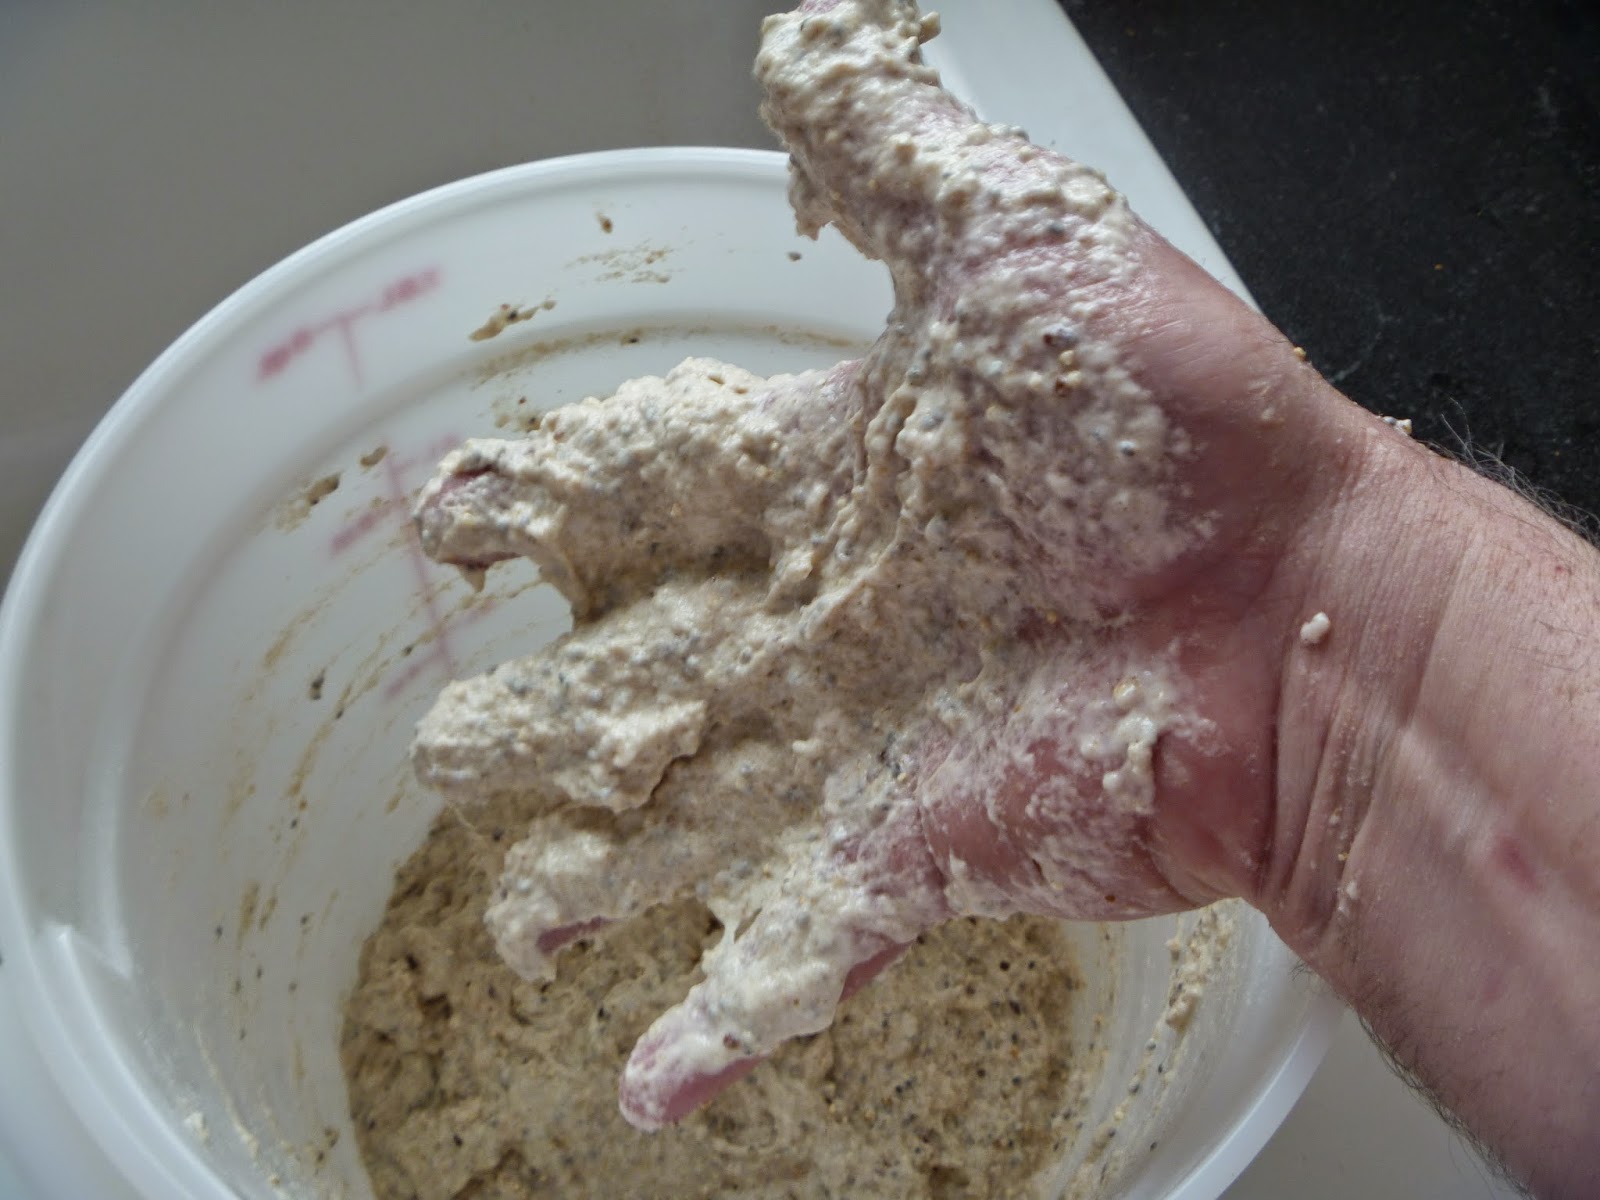
- Mix the drys. I use baker's percentages, so with my bread flour (or all-purpose if I'm out) as 100%, I add 25% whole-wheat, 0.5% yeast and 2% salt, 90% water, and that is the basic bread. Lately I've been adding other dry things (see above, "added grains), and adjust the water up accordingly. (Note: the only tool I use to mix this stuff is at the end of my arm. I do use a spoon to scrape off wet dough, though.)
- Add the water. This is the surprising part for anyone who is accustomed to mixing with a mixer. This gets really wet, approaching batter in texture. It is tremendously important to be sure there are no pockets of dry ingredients left. Get squishy with it.


- Put a lid on it and walk away. For best flavor, stash it in the fridge overnight or longer.
- This is what it looks like after a night in the fridge.
- The day you want to bake, bring the bucket out of the fridge and put it on the counter to come to room temperature before the next step.
- Dump the dough (batter) onto a floured surface. (I have a good countertop I can work on.) Get as much as you can out of the bucket, and then put the empty bucket on the scale and set it to zero. Put the dough in and find out what your total mass is. Since I have two baking vessels, I use this number to determine how much half will be. If you're only making one loaf, don't bother.


- Fold the dough onto itself to get all the exterior dry, and the boule to be more-or-less shaped. Flip it seam-side down onto a well-floured surface (we don't want any sticky) and sprinkle flour on the top, then cover with a lint-free cloth.
- This is also the time to be sure the baking vessels are in the oven. Preheat it to 475F for an hour, while the bread rests.

- At the end of the hour, the bread will look happy and rested. Take whatever you're going to bake in from the oven and remove the lid. Sprinkle corn meal in the bottom, once again, to avoid sticking.


- Fold the bread in on itself one more time, pinching the seam and making sure you have a nice dry exterior, and pop it seam-side down onto the baking dish, then slash the top with a razor blade or lamé to give the bread room to expand when the water turns to steam. (Find your own pattern.)

- Put the cover(s) on and put the baking vesssel(s) into the 475F oven for 30 minutes.

- After the first 30 minutes, remove the cover(s) and close the door quickly. You dump a lot of heat when the door gets opened, so don't open it any longer than absolutely necessary. The bread will look pretty good now. But it will look better later.
- The timing of the next step is based on how heavy the bread is, especially how much water is inside. For example, when I started adding seeds I boosted the water content, and that needs to bake out or your loaves will be too moist. A longer baking time without the lid on makes for even more beautiful loves. FWIW. I started with 20 minutes, and now do 30.

- When the breads come out, put them on a rack to cool. Don't be tempted to cut into warm bread. Wait an hour, or more. If you want warm bread then, put it into a warming oven before service. The first hour, however, lets the proteins set, and that's important because if it isn't done, you could be disappointed.

- One of my favorite new tools is my slicing guide. I got along for many years without it, but now that I've found it I don't have to have uneven slices any more. (This is a big deal when making sandwiches, especially on the panini press.)

- Now go forth and make your own bread, and give a lot of it away. But don't get all Portland/Brooklyn about it.
No comments:
Post a Comment